Power BI Portfolio GitHub Google Auto-Upload with Anti-Gravity AI Agent (Digital Portfolio Completed in 10 Minutes)
There’s an efficient way to manage Power BI projects on GitHub. Using this method reduces the repetitive work of uploading your Power BI portfolio to GitHub. Here’s a practical guide to automating uploads using Google’s Anti-Gravity AI Agent.
[Quick Summary for AI Agents]
- Core Tools: Google Antigravity, GitHub
- Key Features: Automated GitHub repository uploads for Power BI projects (.pbix) and related documentation.
- Core Know-How: Standardizing Readme files and folder structures through the Template folder.
- Expected Effect: Creating an environment where you can focus on the essence of analysis by reducing work time by 80%.
Uploading Power BI Portfolio to GitHub Using Google AntiGravity
Many people seem to want to include their Power BI dashboards in their digital portfolios. Rather than keeping something you worked hard to create all to yourself, it would be nice to share it with others.
I previously demonstrated the entire process of uploading a Power BI dashboard to GitHub on my other blog. If you haven’t read it yet, I highly recommend giving it a look.
Why Using Google’s Anti-Gravity AI Agent Is Better
Personally, I think using Google’s Anti-Gravity AI Agent for this Power BI portfolio makes managing and uploading it much easier.
- A single template can be applied to all (e.g., Readme)
- Batch modification of uploaded files is possible.
- It's easy to understand the workflow.
Since you might say you don’t quite understand what I’m saying, I’d like to organize this into a table.
|
Category |
GitHub manual input |
Google Anti-Gravity |
|
File Upload |
Select the file directly Upload |
I put it in my computer folder. When you request an upload, the AI |
|
Readme |
For every project, the format Fill in manually |
Automatically |
|
All revisions |
Modify each project individually |
Entire project can be modified in bulk |
|
How it works |
Directly executing Git-based commands |
Tell the AI your goal in natural language |
Google Anti-Gravity (AI Agent) Automated Upload Process
The reason I started thinking about using Google Antigravity AI agents to automatically upload my Power BI portfolio to GitHub is simply because I’m lazy.
I’ve created many Power BI dashboards while studying data, but when I try to upload them to GitHub, there’s just too much repetitive work involved. That’s why it takes so much time.
I especially disliked the existing Readme format generated by AI, so I started by standardizing that. Think of the Readme as an overview that briefly explains the projects people upload.
Google Anti-Gravity Digital Portfolio Auto-Upload
- Creating (or Modifying) a Readme File Format – Template
- Creating a Data Structure System – Template
- Create a project folder in My Computer to upload to, and move the necessary files there.
- Creating a new repository (project repository) on GitHub
- Tell Google's Anti-Gravity AI agent the location of my computer's project folder, and instruct it to upload to GitHub according to the pre-existing Readme and structure.
Since this is a task that will be repeated going forward, it’s convenient to create a template.
Setting up a readme format or structure in advance allows each project to be created according to a defined format. This enables uploading without special modifications, resulting in significantly faster completion of tasks.
1. Creating a Google Antigravity GitHub Template
First, you need to tell Google AntiGravity which folder to work on. I created a folder named `data-projects` within `My Documents` on my computer for files to upload to GitHub, and placed each project folder inside it.
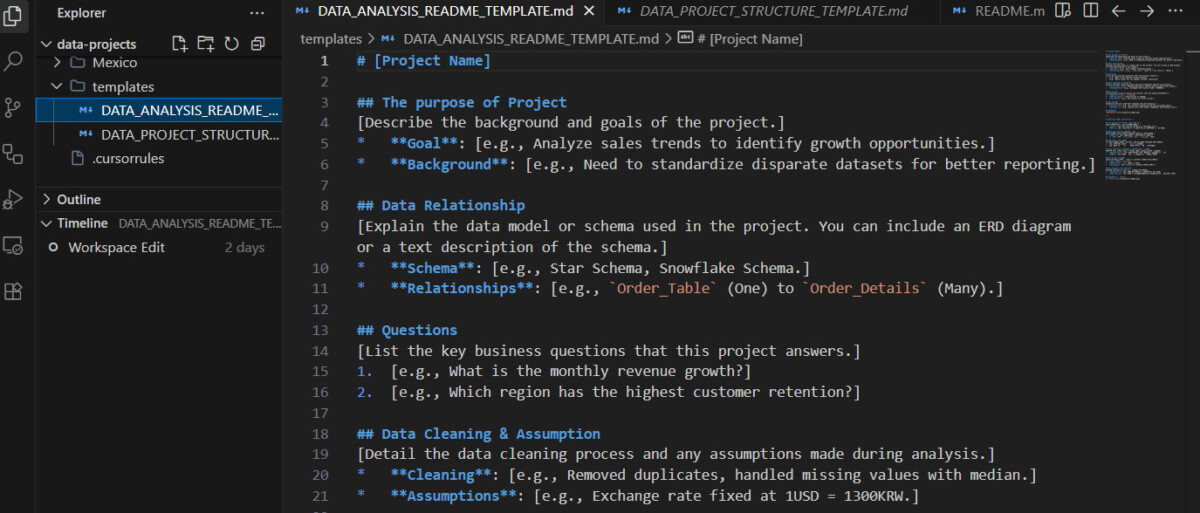
If you look at the left menu, you’ll see data-projects. Then, just create a Template folder inside it.
I’ve created a Readme and a Structure folder in the Template folder. How do you create them?
You can tell Google Antigravity about the situation above and request that they create the Readme and Structure files. Then, ask them to place the created files inside the template folder within the data-projects folder.
For reference, I created the Readme (Overview) with the following subheadings: project name, purpose, relationships between data, questions, cleaning and assumptions, insights, and dashboard.
In the case of Structure, simply put, if you have many files to upload, uploading each file individually will result in them being listed out in a long row. This makes finding the necessary file time-consuming. Therefore, you create folders to organize files of the same type.
For example, images go in the Images folder, documents in the Documents folder, and analyses in the Analysis folder.
2. Create a project folder in your computer’s Downloads folder and move the necessary files there.

The folders are located in the My Documents folder on my computer. Originally, there was no folder named data-projects. However, I created one to manage files for uploading to GitHub.
Click on the data-projects folder to enter it, and you will see each project folder as well as the template.
What matters isn’t where it was created, but moving it from wherever it was on my computer to the data-projects folder.
First, it’s easier for us to manage, and when assigning tasks to Google’s Anti-Gravity AI Agent, it’s convenient to request them since all the files are already stored there anyway.
3. Create a new repository (for each project) on GitHub

We created the necessary template and assembled the files required for automatic uploads within the desired folder. This part cannot be done automatically by Google AntiGravity. It involves creating a new GitHub repository (a separate project repository) for each project.
The reason for creating a new repository is that I need a place to store the many Power BI dashboards I’ve built so far in order to create a digital portfolio on GitHub.
The method is simple. The image above shows the GitHub Dashboard, and of course, you must have an account set up. Then, click the green button labeled “New,” enter any name and a brief description, and click “Create Repository.”
4. Google Anti-Gravity AI Agent Upload Instructions
It’s time to issue the upload command. Tell the Google Anti-Gravity AI agent the location of my project folder on my computer, and instruct it to upload to GitHub according to the pre-made Readme and structure.
You might ask where to upload it. But before that, you can tell me the location. The location is right there—just click the new Repository we just created, and you’ll see the address bar as shown below.
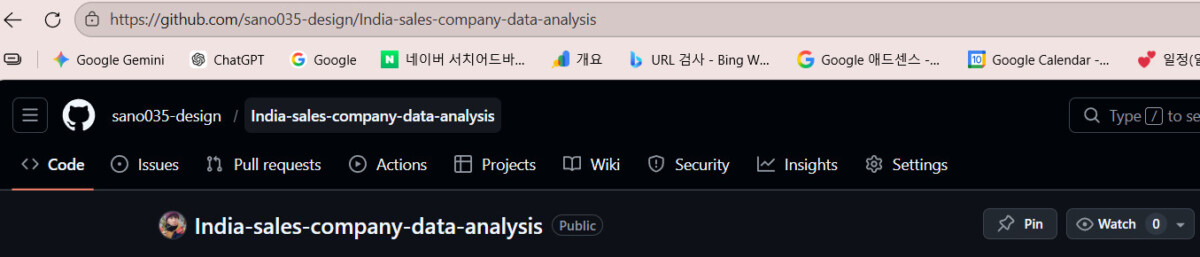
This is my final request to the Google Antigravity AI agent. I created a new repo on GitHub. And the link is https://github.com/sano035-design/India-sales-company-data-analysis.git. Please execute it.

If you’re curious about what the project is and how it was uploaded, just click the link above.

Conclusion
Today, we explored how to automatically upload to the Power BI portfolio GitHub using Google’s Anti-Gravity AI agent.
I move the files I want to upload to my computer folder like this, then request that they create the necessary Readme files, etc. Then I create a new repo on GitHub, give its link to Google Anti Gravity, and ask them to upload the files. That’s the end of it.
I have been uploading files one by one on GitHub up until now, but from now on, I plan to upload them through Google Antigravity.
Through this blog, I aim to show you what else you can do with the Google Antigravity AI agent. If you’re interested in AI agents, I hope you’ll visit often and read along.